Here’s the translation to American English:
In a world where creativity has become an essential element for personalizing spaces, making homemade decorations is gaining popularity. One of the most charming trends is the creation of paper butterflies, perfect for embellishing walls and adding a splash of color and life to any room.
To get started, you will need some basic materials: colored paper, which can range from craft paper to origami or even recycled paper, scissors, glue or tape, and a pencil. The choice of colors will depend on the style you want to achieve; the butterflies can be monochromatic or multicolored.
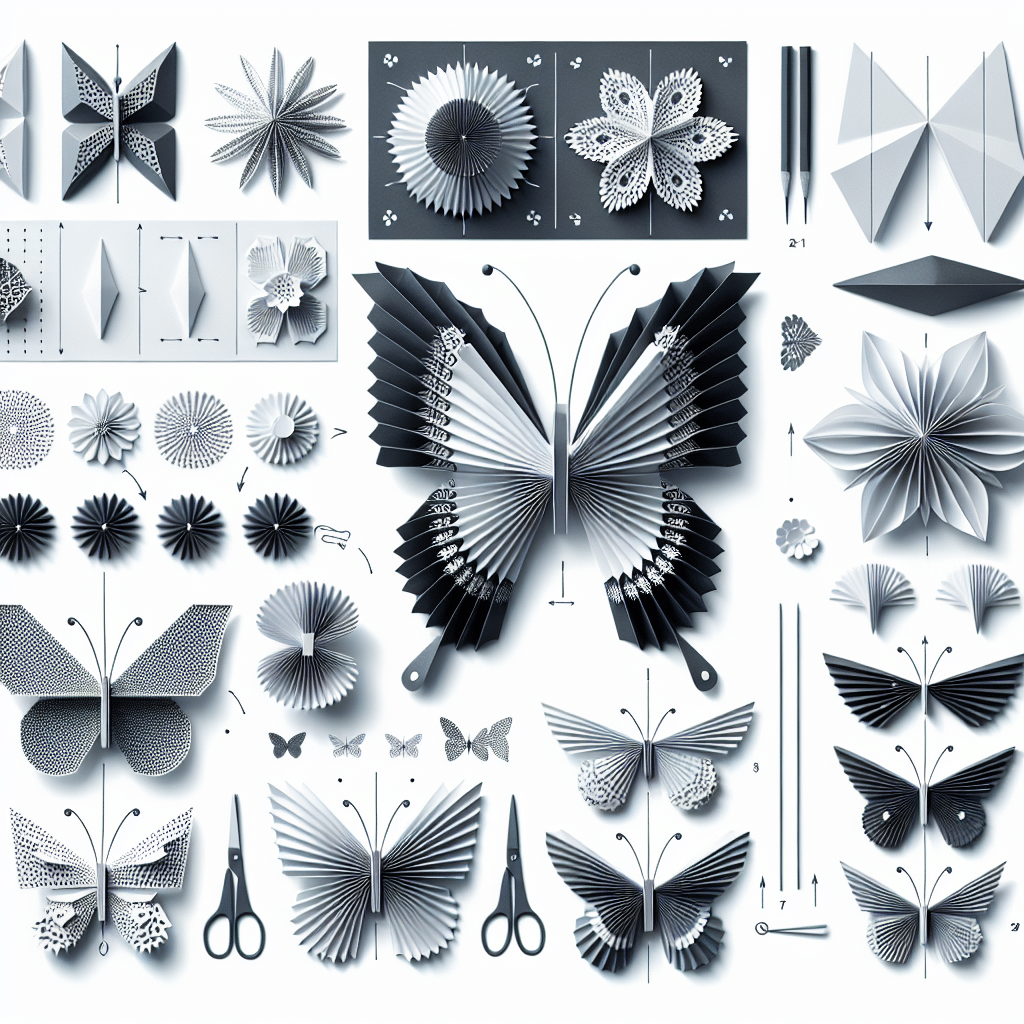
The first step is to draw the outline of the butterflies on the paper. You can use a butterfly template or simply sketch the shape freehand. Once you have the design, carefully cut out the shapes to create clean lines.
Next, fold the wings of each butterfly. It’s recommended to make a crease in the center of the figure, creating a sort of “V,” which will give it a three-dimensional effect. For added realism, you can draw small marks or designs on the wings, mimicking the patterns these creatures often have in nature.
Once the butterflies are ready, it’s time to place them on the wall. You can use glue, tape, or push pins, depending on the finish you want. It’s advisable to distribute them at different heights and positions to create a more dynamic and attractive effect.
Finally, to add a special touch, you can combine the butterflies with other decorative elements, such as paper flowers or garlands, thus creating a cheerful and welcoming atmosphere. This project is not only a great way to decorate, but it can also be a fun activity to do with family or friends. With these simple steps, anyone can transform their walls and unleash their creativity.
Referrer: MiMub in Spanish