If you like handcrafting and specially sewing, you’ll know how complicated it is finding the ideal place for keeping your pins and having them at hand reach at the same time. To help you solve that problem, today, we bring you 3 DIY projects for making original pincushions.
Pincushion 1: a hanging model
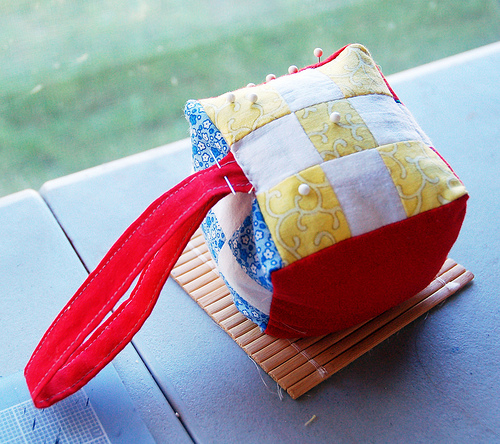 Source: Craftleftovers
A beautiful pincushion that you can hang in any shelf, chair or anywhere you want. This fluffy cube will help you keep your pins and needles tidy. If you want to make an even more original pincushion, you can fill it with some lavender flowers for creating a delicious scent. If not, you can just fill it with rice or foam.
For creating this cushion, you’ll need:
- 6 fabric squares (9 cm x 9 cm size)
- A 22 cm ribbon
- A cup of rice, foam, some dry lavender flowers or any other herb whose scent your like
Then, you’ll just have to sew the different squares in order to create a cube and leave one of the sides without sewing. Use that side for introducing the filling material you’ve chosen and then finish the sewing process. Remember that you should sew the pincushion inside-out and then turn it around.
When you’ve introduced the filling inside the cube, start sewing the left side and place the ribbon to attach it to that side.
Pincushion 2: a likeable mouse made with fabric
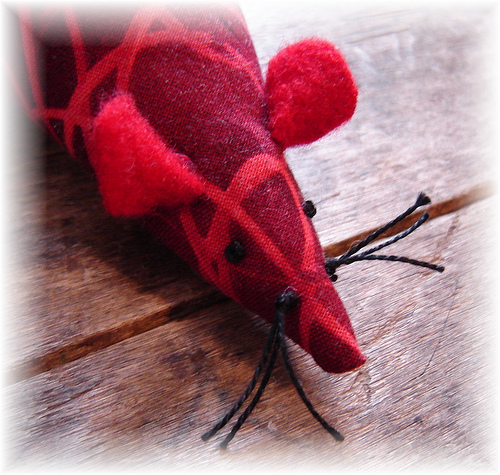 Source: My Byrd House
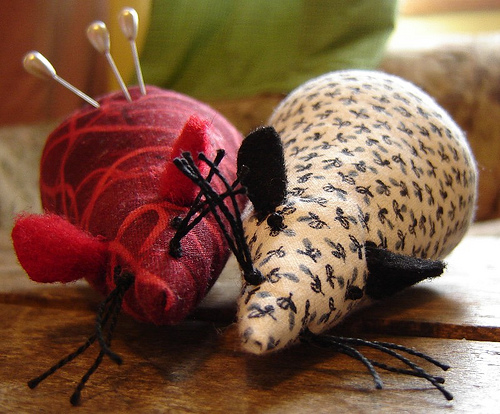
For creating this beautiful pincushion with mouse shape, you’ll need a square of 15 cm x 15 cm, some felt, thread and some filling, such as rice, foam or cotton.
 Source: My Byrd House
In the first place, you’ll need to cut one of the corners, as you can see in the picture above. Fold the square creating a triangle and sew the longer side.
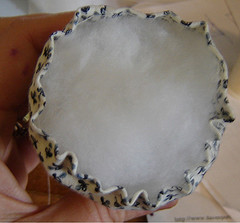 Source: My Byrd House
Fill the cone with the material you’ve chosen.
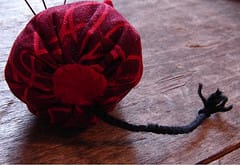 Source: My Byrd House
Attach the tail and a piece of felt and sew it where you want for closing the cone. Then, attach the ears, eyes, etc. to the mouse for completing your DIY project. The pictures will guide you through the process if you have any doubt.
 Source: My Byrd House
Pincushion 3: a unique pincushion
 Source: Monkey Room
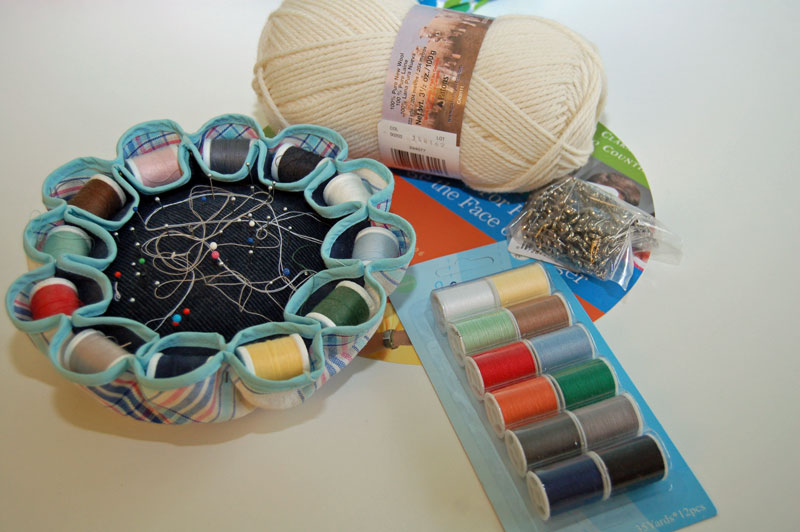
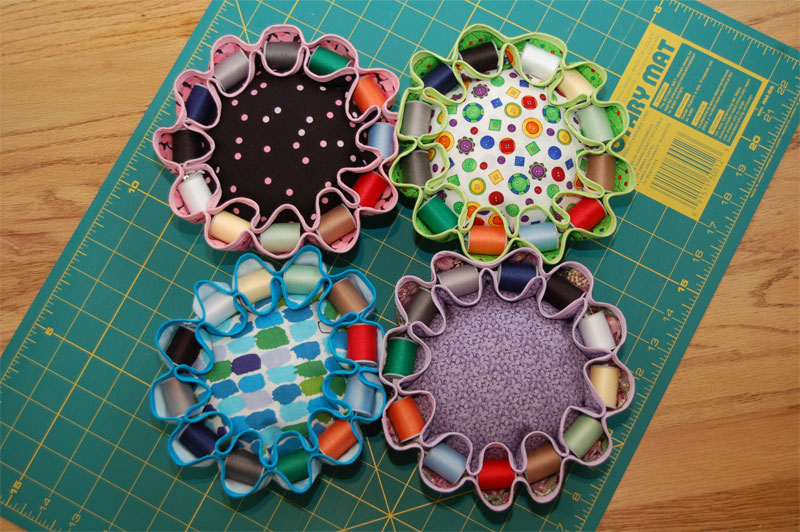
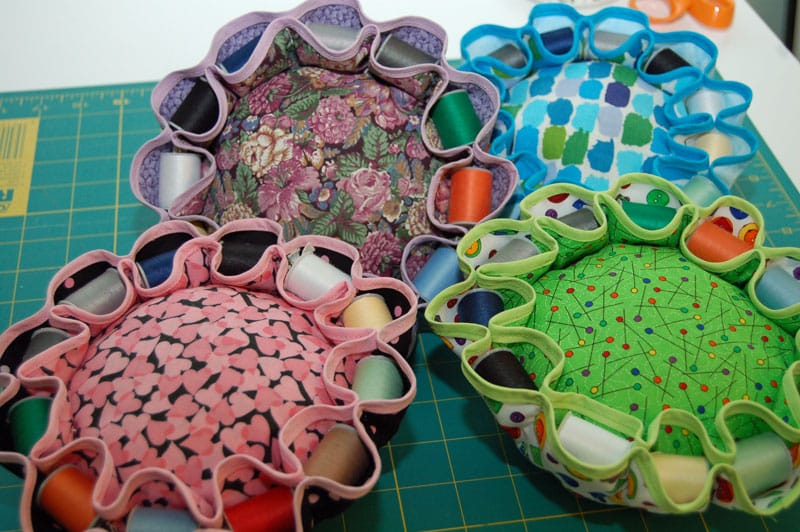
The final result makes it look quite complicated to make, however it is not. It will just take you a few minutes and some fabric remnants.
 Source: Monkey Room
This pincushion is reversible and you’ll be able to use different fabrics and colours. The materiales you’ll need are:
- A 24 cm diameter circle
- Carton for the template (this material is option but recommended if you want to make more than one pincushion with this design)
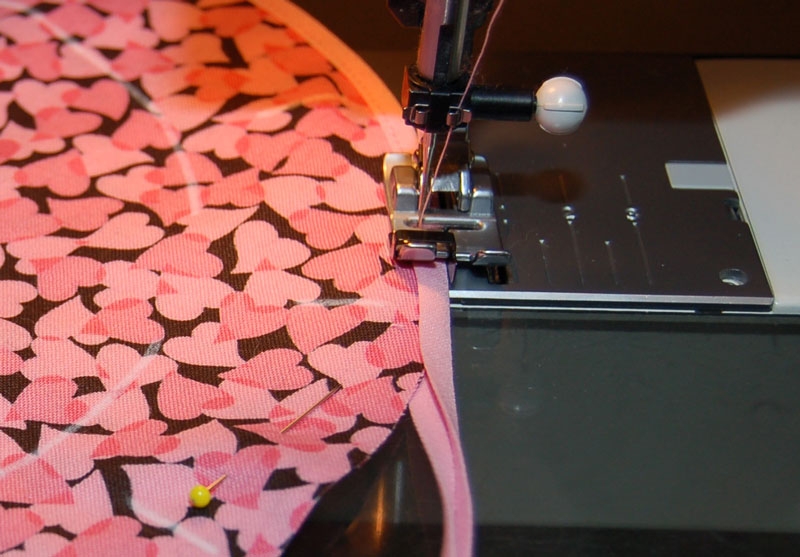
- 2 cm bias tape
- 12 small thread reels (it’s important that you choose really small ones)
- cotton or wool for the filling
- thread
 Source: Monkey Room
Use a piece of carton or a small dish for creating a circle for the exterior part of the pincushion. Cut a smaller circle too. Divide your exterior circle in 12 sections. Cut a keyhole in every of these portions. Cut the interior circle following the same steps so that they fit together.
Use a template for cutting 4 circles, with two different types of fabric. You should make them coincide with the inside-out of the fabrics.
 Source: Monkey Room
Place both fabric circles and sew them together leaving a 4-5 cm opening. Then, fill the circle with the chosen material and close the circle by sewing it. After that, it’s time to sew the bias tape folded on the middle and divide well the different 12 sections for keeping the thread reels.
These original pincushions will make your life easier and the best of it is that they are DIY projects made by you.


