The shopping list, an appointment with the doctor, some tickets, tea towels, etc. We need to have a lot of things handy in our kitchen, therefore the order is a must. Now you can make your own wall organizer, a practical and decorative idea that will help you avoid forgetting about important things.

Order is some of the main pillars of indoor décor. It is essential in every well-decorated place because there’s no beauty without order. Chaos and disorder can ruin every space and every good idea. You can use first category materials and have the best ideas and ornaments but without order, there’s nothing to do.
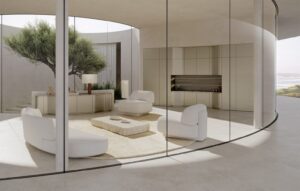
When talking about the kitchen, things are a bit difficult. It is a place very vivid and used by everyone so in this kind of places the order is very important. In this place you need to have things ordered and handy so that you don’t lose them and you don’t forget about them.
If you feel identified with this idea, keep reading because we bring here the solution to your problems. We are going to help you make your own organizer to keep the order in your kitchen. A panel to put your favorite recipes, for example. With some hooks and even a Little shelf to put your kitchen books or some pots.
What you need
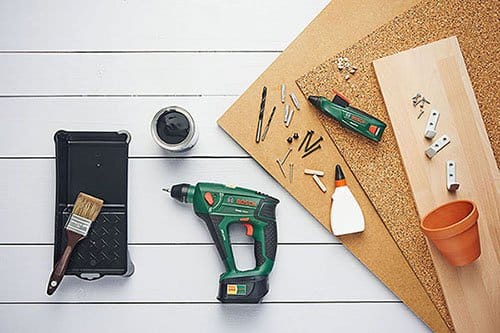
- Chipboard with the size of the panel you want
- Piece of wood of 15 cm width
- Black chalkboard paint
- Hooks
- Glue
- Cork panel
- Spikes to hang the panel
Tools
- Bosch Uneo Maxx Drill
- Bosch Glue Pen
- Brush
The steps
To make this DIY projects you don’t need a lot of time. Maybe you’ll need more time to buy the materials than to make the Project. It is very easy, practical and decorative.
Step 1: Look for a chipboard that will serve as the base to put the piece of Wood. Put it on the left side (to leave some space to put the cork panel on the right side) and in the bottom (think that you are going to use it to put objects on it). Then mark the places where you are going to make the holes with the drill.
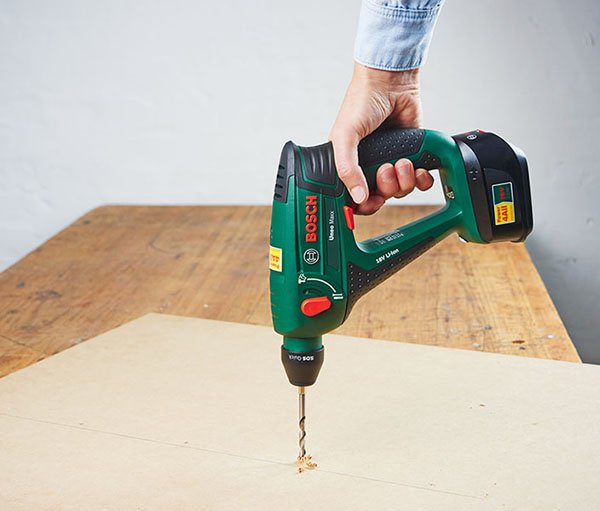
Step 2: Make the holes with Bosch drill, as it is wireless, it is very easy to use.
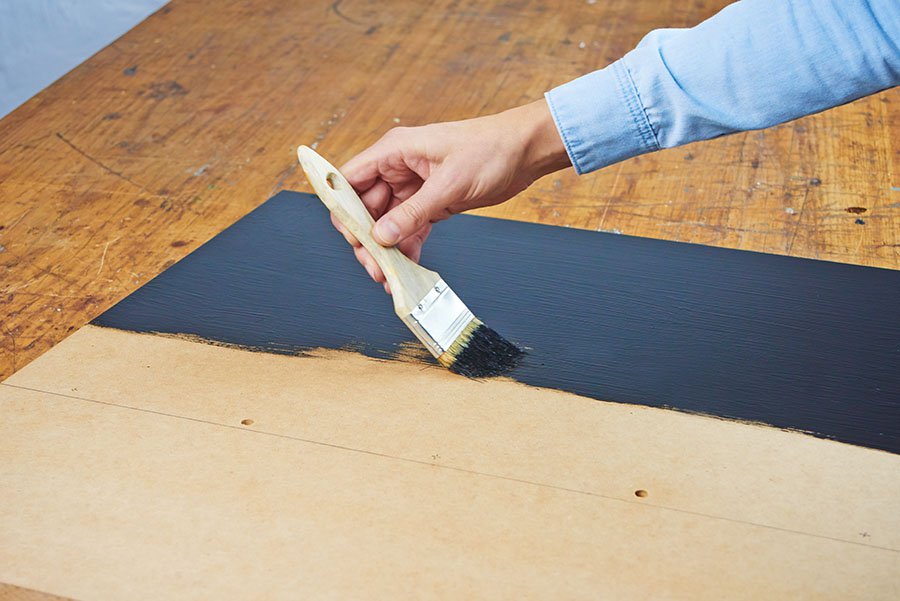
Step 3: paint the panel with black chalk paint and let it dry.
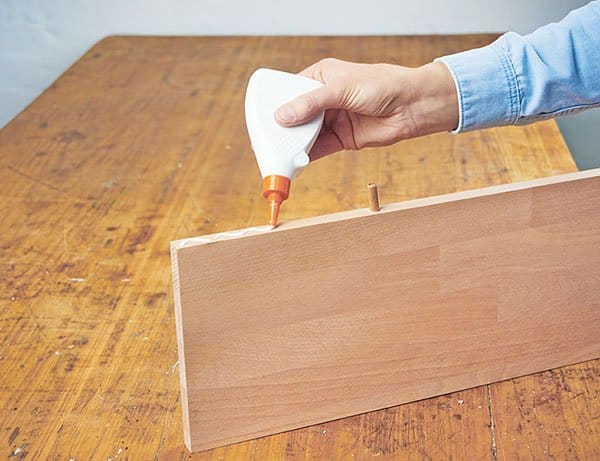
Step 4: when the paint is dry, stick the little shelf with some wood pieces and glue. Press while it dries.

Step 5: cut the cork in the size needed and stick it to the surface using Bosch Glue Pen.

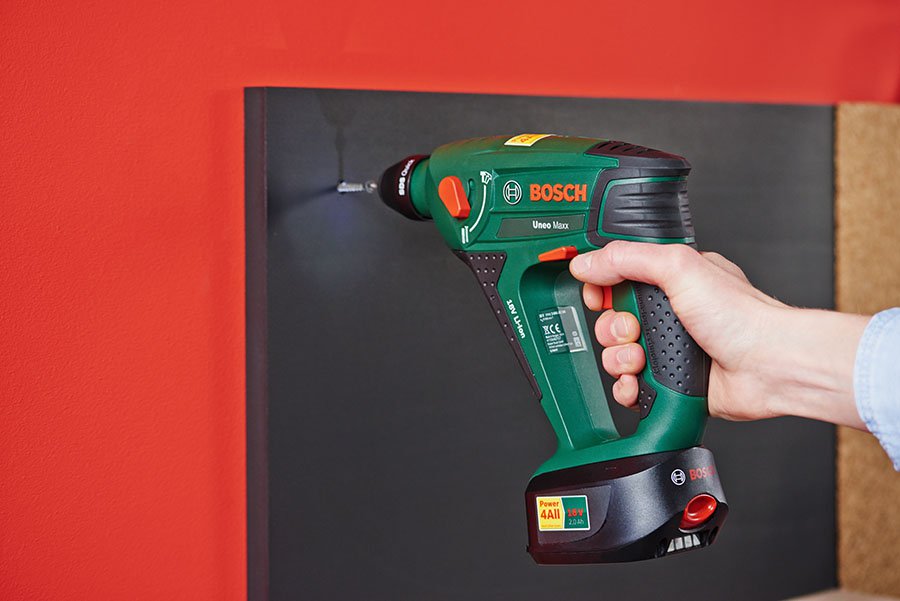
Step 6: Hang the panel on the wall thanks to the drill.
Then you have your organizer ready to use. From now one, you’ll have everything you need handy at the same time it contributes to your décor with a different and original touch.
Did you like the project?
Source: Decoración 2.0