Would you like to have an original photo frame and you don’t find any that convinces you? Don’t worry, today, we bring you a DIY origami idea for creating a paper photo frame that combines with your decoration. We’ll show you how to make it step by step.
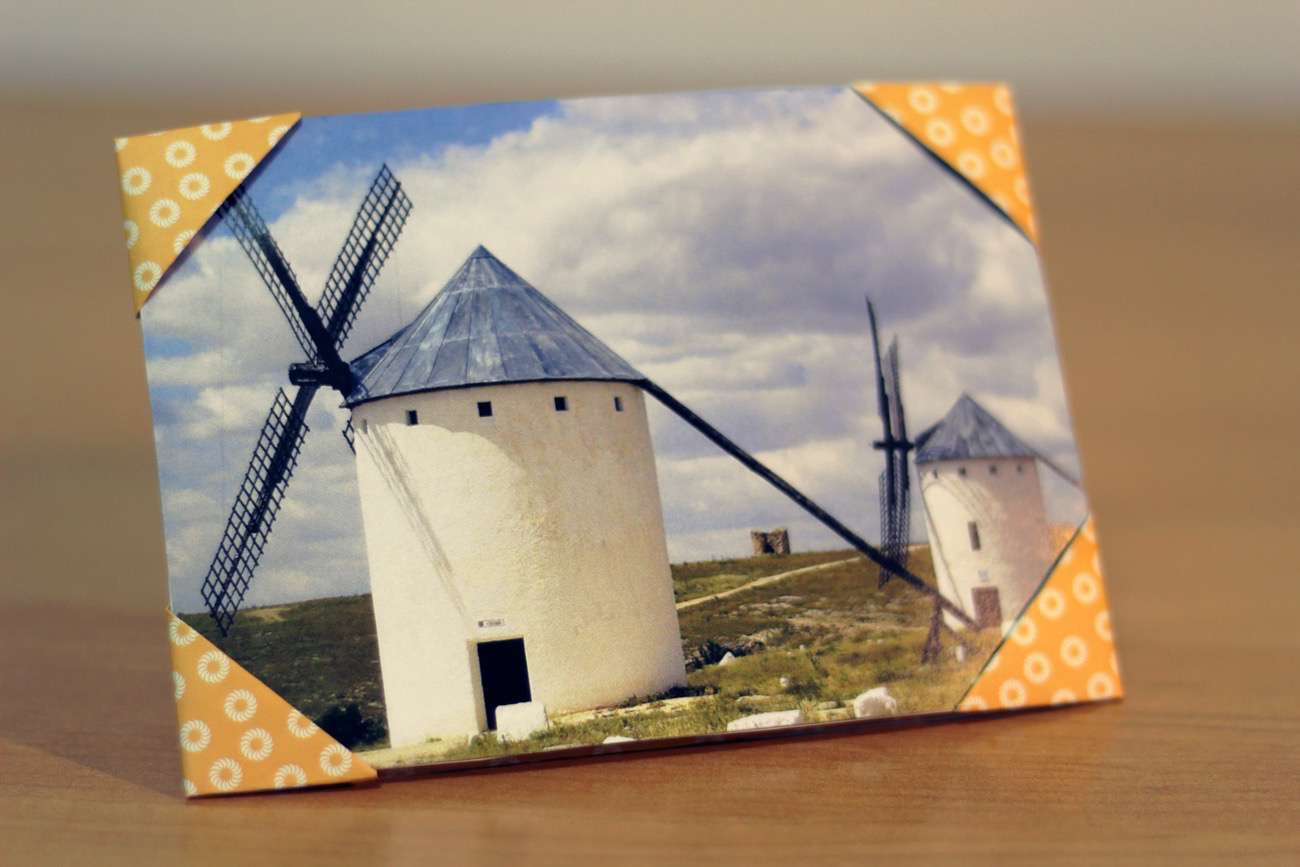
This craft is simple and beautiful; your photo frame will just have four tabs on the front side and some folds on the backside so that it can remain standing. Are you in for doing this DIY origami craft? Watch the video!
Tutorial: How to make a photo frame with paper (DIY origami)
- Choose the picture you want to place in your photo frame
- Choose a printed paper you like (A4 size) and that combines with the picture and your home decoration (The paper you see in the video are from TIGER store)
- Fold the printed paper on the middle
- When you have the paper folded, fold it again on the middle to mark the folding line; then, leave it open (just folded once)
- Fold the right up corner to the center and the same with the left up corner; then, leave it open with the folding lines marked
- Hide these up corners inside of the paper
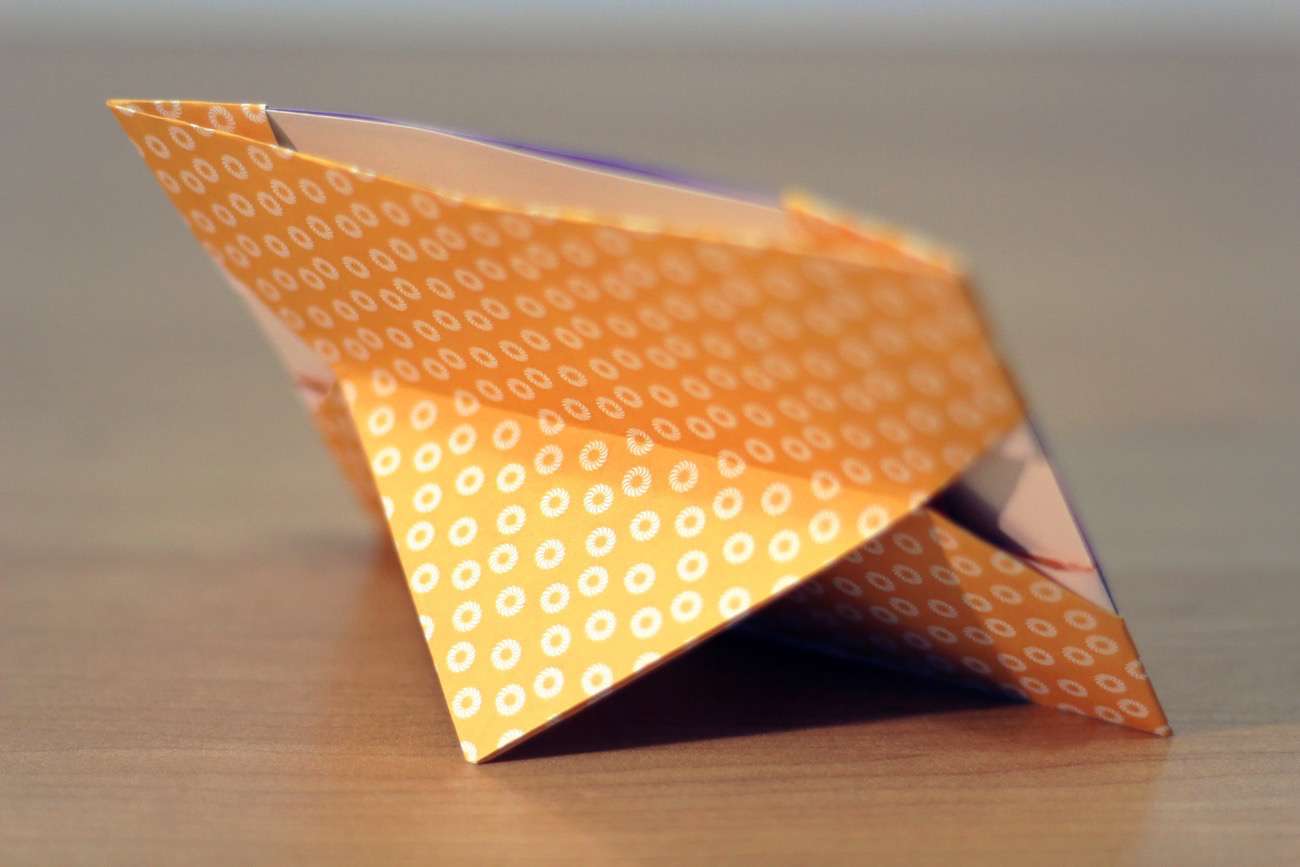
- Fold the excess paper upwards in both sides of the paper (like when making paper boats) and unfold again
- Bring the tip of the “boat” to the vertex created by the last folding move
- Open the folding paper and fold the two triangles inside. Like this, you’ll have the flap that will hold the picture
- Fold again on the opposite direction
- Place the picture
- Fold the paper squares left
- Take off the picture
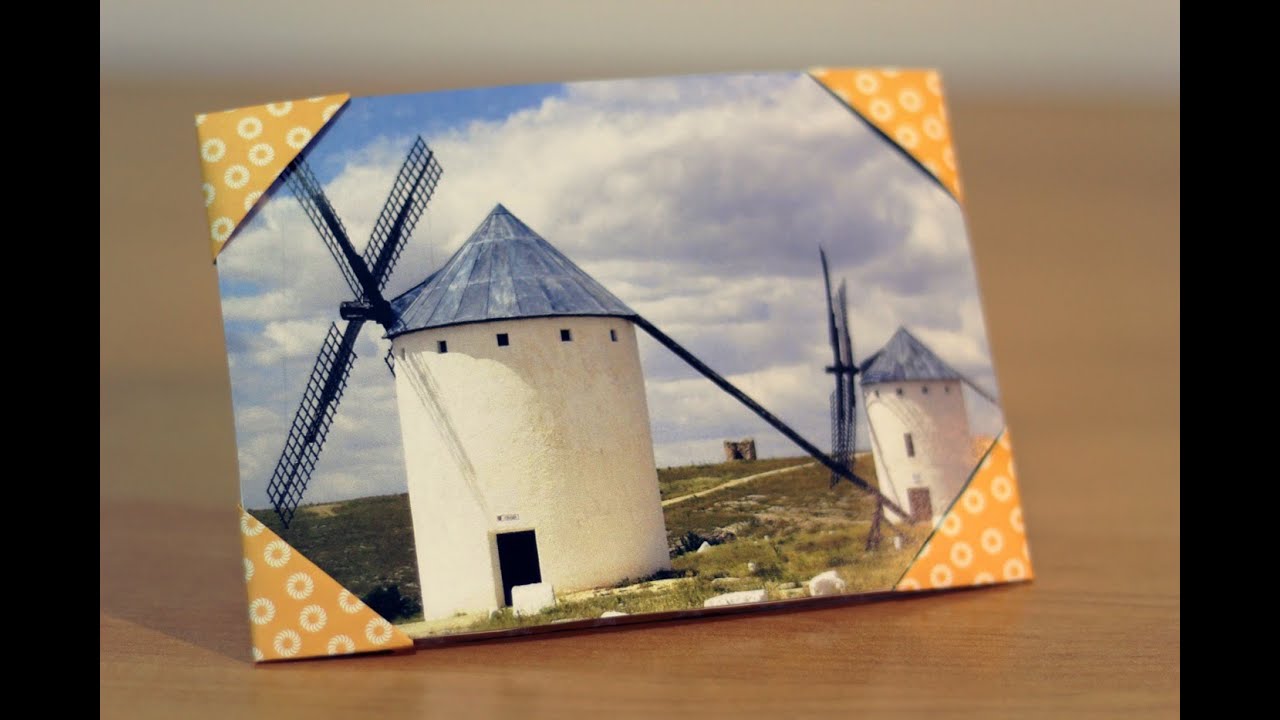
- Place the picture again but just with the little corners left so that the over the picture there’s just a small triangle
What do you think? Following the video step by step, you’ll get to make a gorgeous DIY origami photo frame. Did you ever imagine creating this original object with paper? You can watch more DIY origami videos in Internet DIY.
Via decoración 2.0